Your account is the company you sign in to: its name and address, its application form, its users, its files. Most people only ever have one. Some companies have more, one for each division or trading name, each with its own form and its own files, and their people move between them. This article covers the Accounts page, editing your account's details, creating a second account, switching between accounts, and seeing all of your accounts' files in one list.
Before you start
- Everybody can open the Accounts page and switch between the accounts they belong to. Editing an account's details, creating a new account, and transferring ownership need an account admin, and the last of those needs the owner.
- Each account is separate: its own application link, its own settings, its own staff and users, its own invoices. Decide whether you really need a second account before you create one. A branch that shares your form and your credit team is usually better as a location or a staff type on the one account.
- Related accounts can be invoiced together, but that is set up by Credlab, not from this page. Email service@credlab.com once the accounts exist.
Open the Accounts page
- Click your profile picture in the top right corner, then click Accounts. Every account you belong to is listed, and the one you are working in is marked Current Account.

The Accounts page listing Northwind Building Supply marked Current Account, with a Create an Account button.
Click an account's name to open its page, where its users are listed. See "Invite a user and set their permissions".
Edit your account's details
- Open the account's page from the list and click Edit Account.
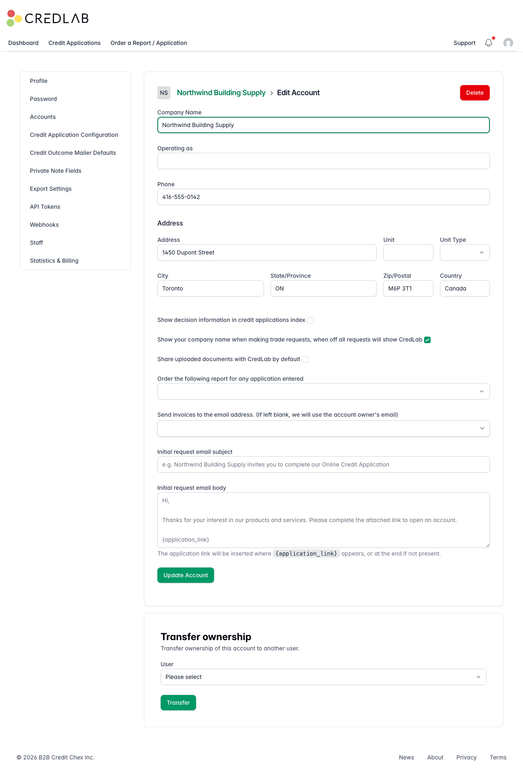
The Edit Account page with the company name, operating as, phone, and address fields, four account options, and the Transfer ownership form underneath. - Change what you need and click Update Account.
The top of the form is your company: Company Name, which is printed on your application form and on the credit outcome email, Operating as, Phone, and your Address. The options underneath each do one job.
- Show decision information in credit applications index shows each file's decision and approved amount on your applications list.
- Show your company name when making trade requests puts your name on the trade reference requests Credlab sends on your behalf. Turn it off and they go out in Credlab's name only.
- Share uploaded documents with CredLab by default pre-ticks the sharing switch on documents your team uploads to a file, so Credlab's analysts can read them without being asked each time.
- Order the following report for any application entered orders the chosen report automatically on every new application that arrives, so nobody has to remember to.
- Send invoices to the email address is who receives Credlab's invoices. The list offers your users and your staff, and you can type any other address. Left blank, invoices go to the account owner.
-
Initial request email subject and body are the wording of the email you send a customer to ask them to apply, from the Share your link card on the dashboard. Credlab puts your application link wherever
{application_link}appears, or at the end.
Delete, in the top right corner, removes the account and everything in it, and cannot be undone.
Transfer ownership
The owner is the one user who cannot be removed and whose admin rights cannot be taken away. If the owner is leaving, they hand the account on first.
- As the owner, open Edit Account and scroll down to Transfer ownership.
- Choose the new owner in User and click Transfer. The form only appears once the account has at least two users.
Create a second account
- Click Create an Account on the Accounts page.
- Type the new Company Name and as much of the rest as you have. It is the same form as Edit Account, so anything you leave out can be filled in later.
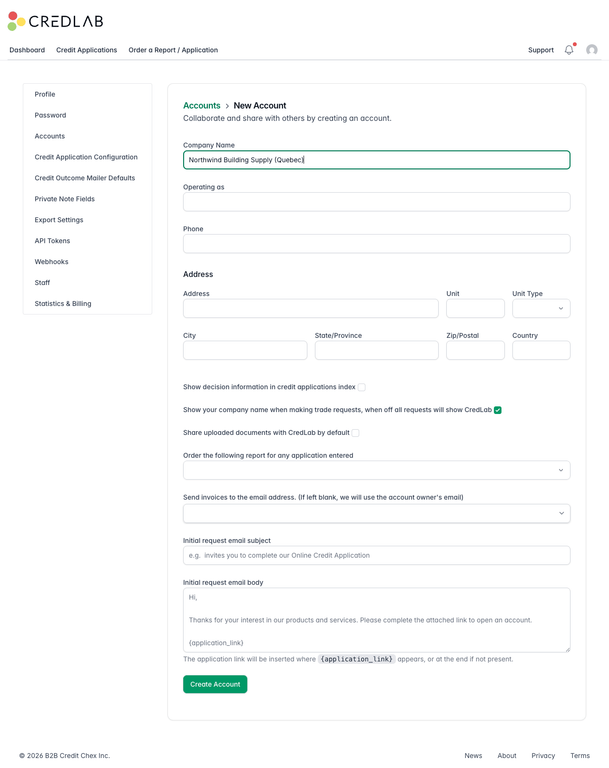
The New Account page with the company name filled in as Northwind Building Supply (Quebec) above the empty address and option fields. - Click Create Account. Credlab creates the account, makes you its owner, and switches you into it.
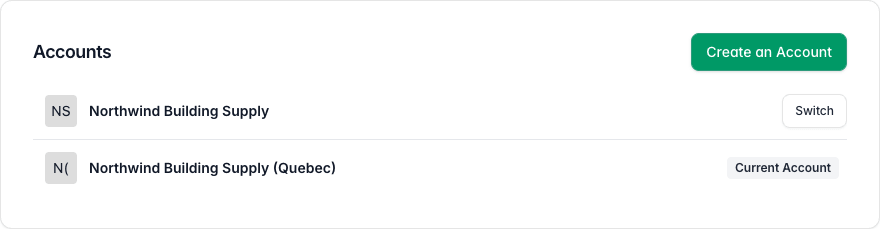
The Accounts page listing two accounts, the new Quebec account marked Current Account and the original with a Switch button.
The new account starts with the standard application form, the four default staff types, and nobody but you on it. Set its application address and form up from Credit Application Configuration, and invite its team from its account page. See "Set your application link and submission options" and "Invite a user and set their permissions".
Switch between accounts
- Click Switch beside the account on the Accounts page. Your dashboard, your applications list, your settings and your notifications all become that account's until you switch again.
Every page in Credlab shows one account at a time, and your permissions can differ from one to the next, because each account's admin sets them on that account.
See every account's files in one list
If you belong to more than one account, you can read across them without switching.
- Click your profile picture, then Profile, and tick Combine Accounts.
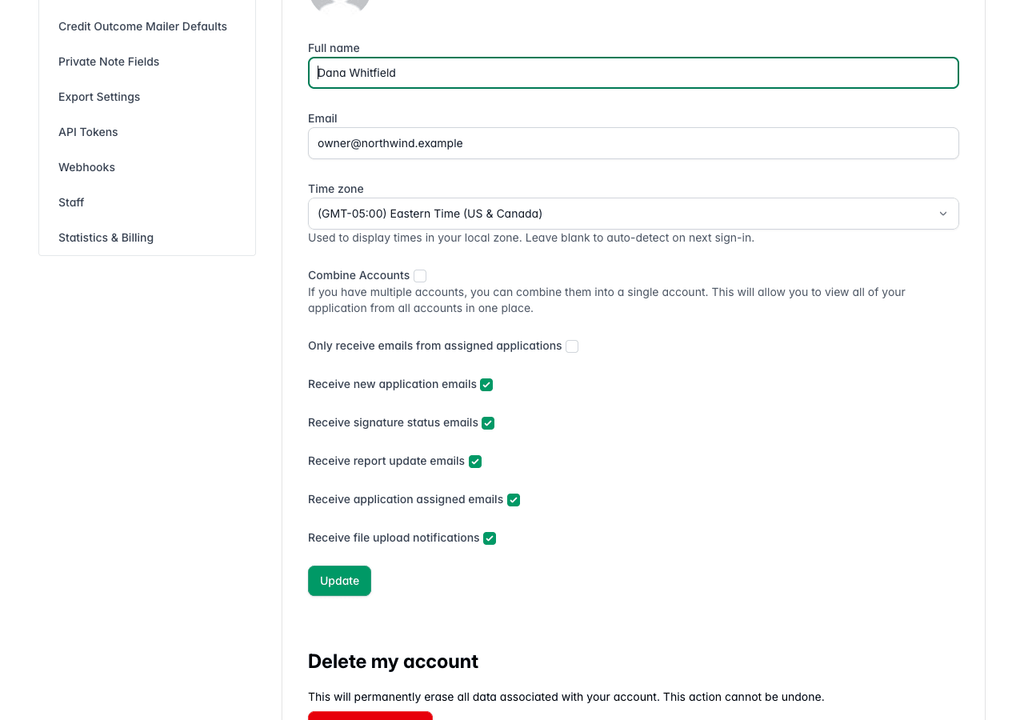
The profile page with the Combine Accounts switch above the email notification switches. - Click Update at the bottom of the page.
Your applications list and your notifications now show every account's files together. Opening a file, or ordering a report on it, still uses the permissions you have on that file's own account. The setting is yours alone; it does not change what your colleagues see.
Tips & notes
- The account name is what applicants and customers see. It is on the application form, on the printed application, in the terms wording, and on the credit outcome email. Keep it as your legal or trading name, and use Operating as for the everyday one.
- Invited to a colleague's account? Accepting an invitation adds that account to your list. Nothing is copied between accounts; you simply belong to both. See "Invite a user and set their permissions".
- Two accounts, two links. Each account has its own application address, so share the right one for each division. See "Share your application link and receive applications".
- Combine Accounts is for reading, not moving. A file belongs to the account it arrived on and cannot be moved to another.
Related articles
- Invite a user and set their permissions
- Your profile and security
- Set your application link and submission options
- See your account statistics and invoices