Everybody who works your credit files in Credlab needs their own sign-in on your account. An account admin invites them by email, chooses what they are allowed to do, and can change or remove that access later from the same page. This article covers sending an invitation, what the person you invite sees, chasing an invitation that has gone quiet, changing somebody's permissions, and taking somebody off the account.
Before you start
- You need to be an account admin. Only admins see Invite A User and the Edit buttons on the Account Users list. The owner of the account is always an admin.
- Have the person's work email address ready. It is where the invitation goes and it becomes the address they sign in with.
- Decide what they should be able to do before you start. The permissions are explained under "Choose what they can do" below, and you can change them later.
- Colleagues who only need to be named on a file, such as a sales rep who is the account manager, do not need a sign-in. Add them as staff instead. See "Add staff and assign them to credit files".
Open your account's user list
- Click your profile picture in the top right corner, then click Accounts. Click your account's name in the list.
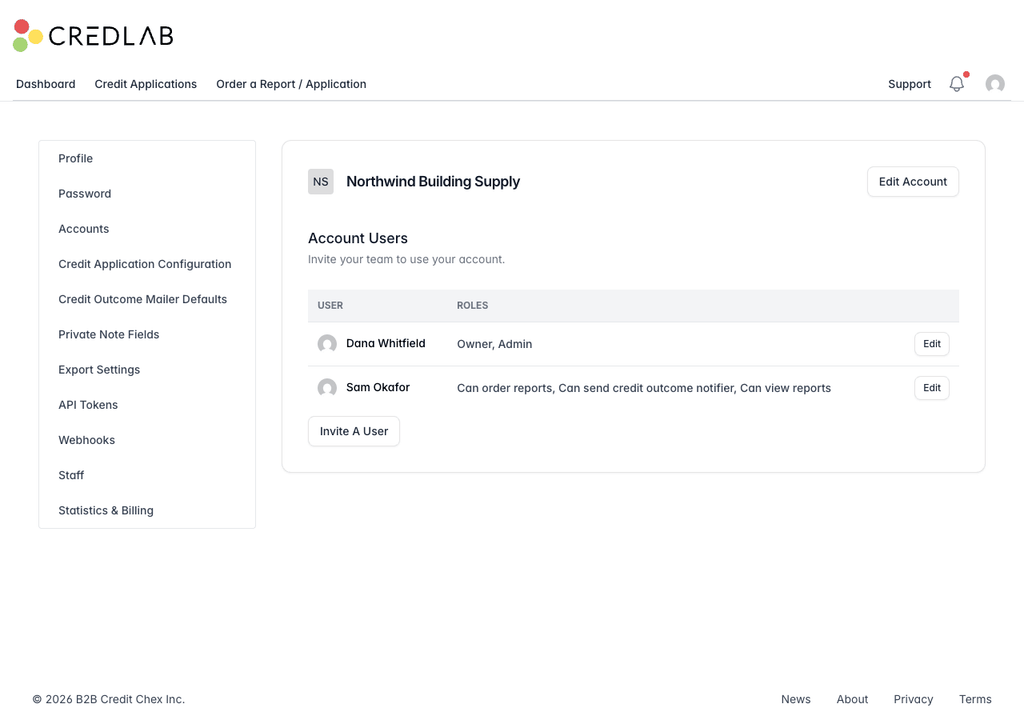
The account page for Northwind Building Supply listing two account users with their roles, an Edit button for each, and an Invite A User button.
The Account Users table shows everybody on the account, what they are allowed to do, and a 2FA mark beside anybody who has turned on two-factor authentication. The owner is marked Owner.
Send an invitation
- Click Invite A User.
- Type the person's name into Name and their work email address into Email.
- Tick the roles they should have under Roles.
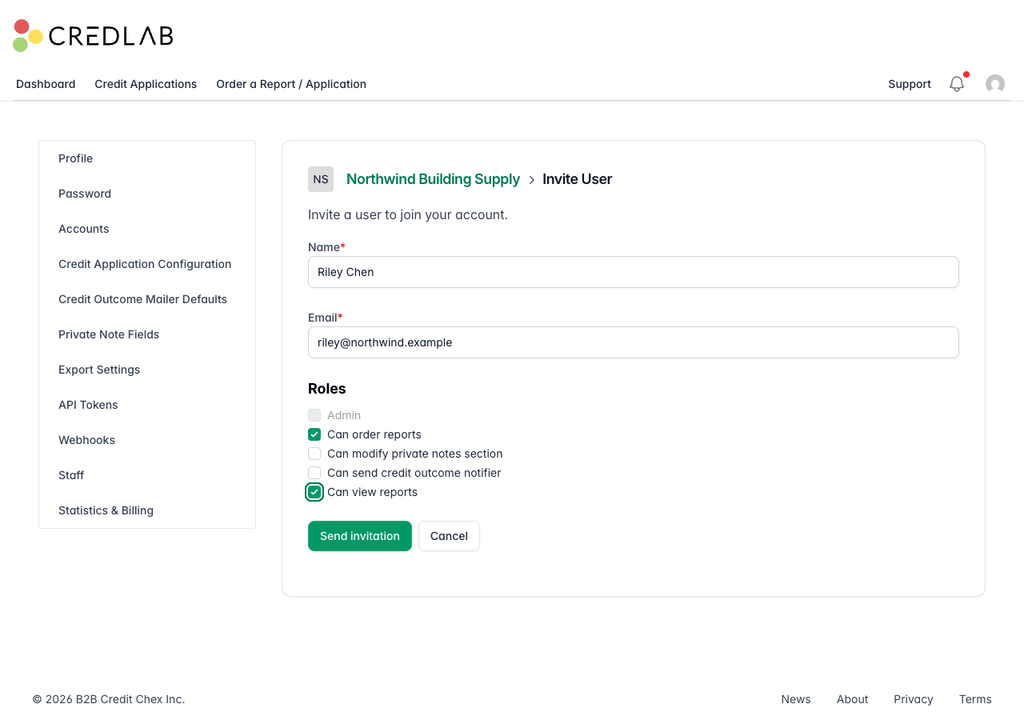
The Invite User form filled in for Riley Chen with Can order reports and Can view reports ticked above a Send invitation button. - Click Send invitation. Credlab confirms that the invitation was sent to that address, and the person appears in the Account Users table marked Awaiting response.
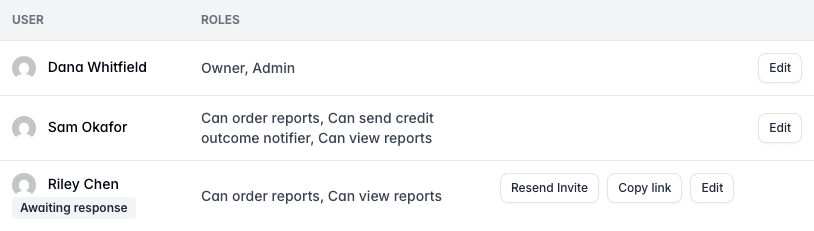
The Account Users table with a third row for Riley Chen marked Awaiting response, showing Resend Invite, Copy link, and Edit buttons.
An address that is already on the account, or already invited, is refused with a note that it has already been invited.
Choose what they can do
Tick as many of the four working roles as the person needs, or tick Admin on its own. Ticking Admin greys out the other four, because an admin can already do all of it, and ticking any of the four greys out Admin.
- Admin can do everything on the account, including every settings page: the application form and its builder, mailer templates, custom fields, export settings, API tokens, webhooks, Statistics & Billing, and this page.
- Can order reports lets them order business credit reports on a file.
- Can view reports lets them open the reports and report documents attached to a file, and the Credlab report when Credlab has released it to you.
- Can modify private notes section lets them change the Private notes and options card on a file: who it is assigned to, the decision, the account manager, staff, custom fields, and notes.
- Can send credit outcome notifier lets them send the credit outcome email to the applicant.
Somebody with none of the four ticked can still sign in, find files, read applications, and do everything the roles above do not cover, such as sending an application for signature or requesting documents.
What the person you invite sees
- They receive an email with the subject line your name invited you to your account name, saying that you invited them to collaborate on the account, with a View invitation link.
- The link opens the invitation page. If they do not have a Credlab sign-in yet, Credlab first asks them to create one, using the same email address. If they already have one, they sign in.
- They click Accept Invitation.
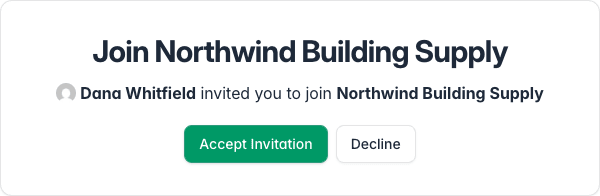
The Join Northwind Building Supply page saying Dana Whitfield invited you to join, with Accept Invitation and Decline buttons.
Accepting adds them to the account with the roles you chose, and you and the account owner are told in your notifications that they have joined. Decline throws the invitation away. Somebody who already uses Credlab for another company gets your account added to their list and can switch between the two. See "Manage your accounts".
Chase an invitation
While a row still says Awaiting response, three buttons sit beside it.
- Resend Invite sends the same email again.
- Copy link puts the invitation link on your clipboard, so you can paste it into a chat message or an email of your own when the automatic one is being caught by a spam filter.
- Edit opens the invitation so you can correct the name, the email address, or the roles before they accept, or delete the invitation with Delete Invite.
Change somebody's permissions
- Click Edit beside their name in the Account Users table.
- Tick or untick the roles.
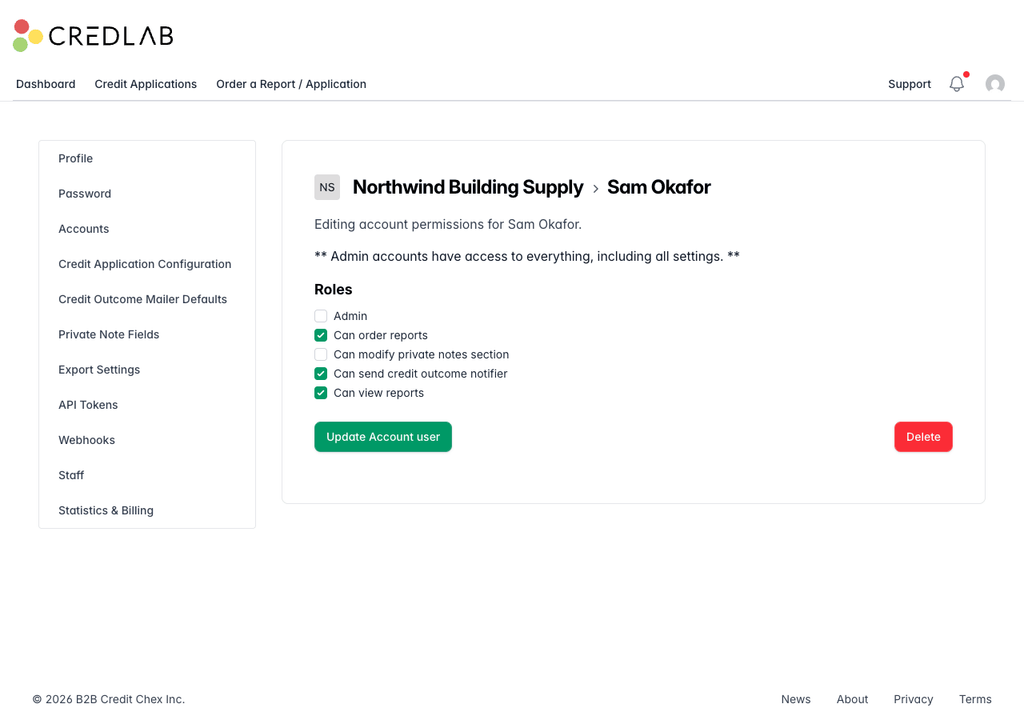
The permissions page for Sam Okafor with three of five roles ticked, an Update Account user button, and a red Delete button. - Click Update Account user.
The change applies the next time they load a page. The owner's Admin box is greyed out, because the owner always keeps admin rights.
Remove somebody from the account
- Click Edit beside their name.
- Click Delete and confirm.
They lose access to your account straight away. Their Credlab sign-in still exists, so they keep any other accounts they belong to, and anything they did on your files stays recorded under their name. The owner cannot be removed this way; ownership has to be transferred first from Edit Account. See "Manage your accounts".
Tips & notes
- Roles are per account. Somebody who belongs to two of your accounts has a separate set of roles on each one, set from each account's own page.
- Turning an email off is not the same as removing access. A colleague who wants fewer emails changes that on their own profile. See "Your profile and security".
- An invitation does not expire on its own. It stays in the table marked Awaiting response until it is accepted, declined, or deleted with Edit then Delete Invite.
- Somebody invited with the wrong address will never see it. Open the invitation with Edit, fix the address, and click Resend Invite.
- Two-factor authentication is up to each person. You can see who has it on from the 2FA mark, but you cannot turn it on or off for them.
Related articles
- Add staff and assign them to credit files
- Manage your accounts
- Your profile and security
- Record the decision and assign your team